Bespoke Items ordered from Celina can be designed with the highest degree of specification. To make sure that we create your order exactly as you want it, we’ve been working on a series of blogs that detail every step of the process. We’ve condensed the information here into a single entry, but feel free to follow the links in each section to read the full blog posts.
Always remember that before you start the artwork process, you should place the order for your bespoke printed item. This secures your order’s place in line so that production begins as soon as your artwork is verified.
1: Finding or Creating Good Artwork (Full Blog Post Here)
Just like cooking, you need to use good base ingredients to make sure the end result comes out tasting great. Or in this case, looking great. Your image would work the best if it is in a Vector file, meaning the basic image components are a series of points, lines, and shapes that can be sized as large or as small as you want without changing the amount of detail in the picture.
Raster files, images created by saving pixels, are not the greatest due to the fact that sizing is more difficult. With the image being created by arranging a series of colored blocks, making a raster image too large will make it look grainy (or pixelated), and can lose detail.
This is also the time to make sure you have any important colors well defined in order to print exactly what you want. Because colors on monitors don’t always reflect the same color defined by your artwork program and printers if you have a specific color identified by a CMYK color formula or Pantone Solid Coated reference number we can match more specifically to what you want.
2: Sending Your Art to Celina (Full Blog Post Here)
Thankfully, getting your images to us is the easiest part of the entire process. Start by naming your file. As long as you put your name or your company’s name in there, we’ll be able to match it to your item order with no issues. Once named, you can send it with either of the two primary means of conveyance: email or website upload.
Email is the easiest method if your image is relatively small. Files no bigger than 10MB total can be sent to Art@CelinaTent.com along with any other details you would like to tell us about your order.
If your images are a bit larger than that, you can use the secure artwork upload system on our website (here). Similar to email, you will simply drag your artwork to the prescribed area, can add any message you like, and send it on its way.
3: Artwork Template Creation (Full Blog Post Here)
With your artwork selected and the product picked out, they now need to be combined in order to create the file used to print the material. Each item that can be printed has a corresponding PDF template where the artwork can be placed and arranged. You’ll have to a make a choice: fill out the template yourself, or let the Celina artwork department handle the layout.
If you’d like to create the template on your own, giving you the largest amount of design control, you will need image manipulation software and your good artwork. Each product page on our website has the corresponding artwork template available for download – simply scroll down to the “Custom Printing” section below the product information to find it. Each template contains directions on proper image layout, including marked areas where product finishing would obscure images or text, and safe areas where you will get the best visibility. In case you don’t feel comfortable doing this you can also just send a description of what you’re looking for along with your uploaded base image files.
4: 3D Renderings (Full Blog Post Here)
Once your art is received, placed in a template, and checked by Celina’s art department, you will be sent a rendering so that you can judge how your item will look when finished. You’ll receive a link to a full 3D rendering of your item, which you can look at from any angle or distance to be sure that what you’re getting will look just how you want. Give us the word and we’ll begin production immediately.
* * * * *
While it looks like a long process, it’s simply because we explain every single aspect so that you know exactly how it all works. Have any more questions? Feel free to email anything you’d like to ask to UK@CelinaTent.com and we’ll be glad to help in any way we can. We look forward to printing for you!

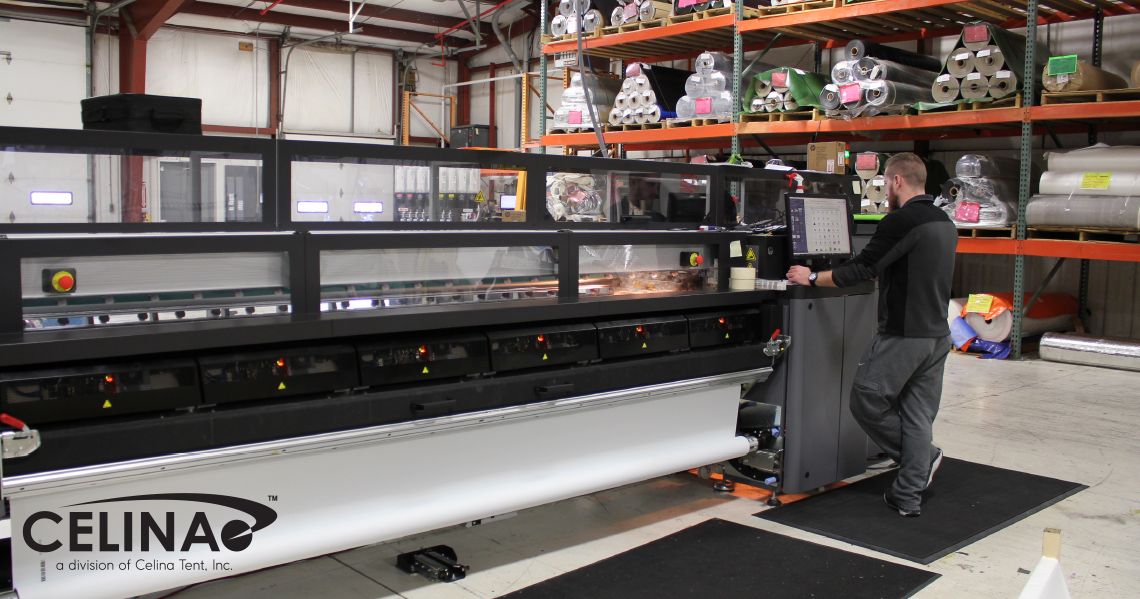
An Overview of the Print Process