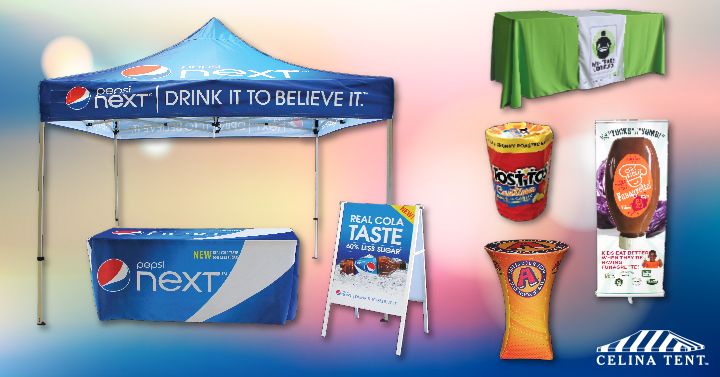
Celina’s custom printed products allow you to tailor products directly to your needs. Are you looking to advertise your business? Have a designed theme for an upcoming party? Want to celebrate a reunion or graduation? We can help you with the creation of tents, table covers, banners, and more that are specially made for your next event. But what exactly all takes place in order to get your custom product out the door and to you in a timely fashion? What does Celina Tent need from YOU? Read on and find out in today’s blog!
Step 1: Choosing Your Item and Image
That table cover, tent top or any other printed item you are looking at on Celina’s website will have a template also listed on the page. This template helps you to see how your item will print –helping you to guide the artwork and pick out what you like versus what you don’t like for your final product. You’re your time and choose the combination of product and design that you feel best fits your needs.
Step 2: Receiving Your FREE Rendering
Once you know the basics, it’s time to get an official rendering, aka a preview of what your artwork will look like once printed. Celina offers free renderings on all of our products to help ensure you’re getting exactly what you want. The templates on our product pages can be used by customers with skills in vector image creation to lay out your own, or images can be sent to us (art@celinatent.com or through our secure website uploading system) and we can create the image to your specifications. Our team of graphic design experts will evaluate your images, and using “good” artwork, will send you an official rendering of the product for approval.
If you submit “bad” images – those that are an unacceptable file type, are too pixelated when applied to the product, or are simply of low quality – we will inform you so that you are able to track down the proper image (AI, PDF or EPS). In the event that you cannot locate “good” artwork, logos can be redrawn by our art department for a $75 per hour fee.
Step 3: Reviewing Your Order
Upon receiving your initial rendering, you have the option of making 2 changes to it for free. This is to ensure we’ve communicated what you want accurately. Any additional changes
For more information on printed items and the artwork process, check out our information videos:
Artwork Requirements for Custom Printing
Custom Printed Items – How to Use an Artwork Template
Printing Overview: Dye Sublimation and Solvent Processes
Or read through our Knowledge Center’s Custom Printed Products pages:
Artwork Guidelines/Requirements

The Printed Products Process - What You Need to Know